Course
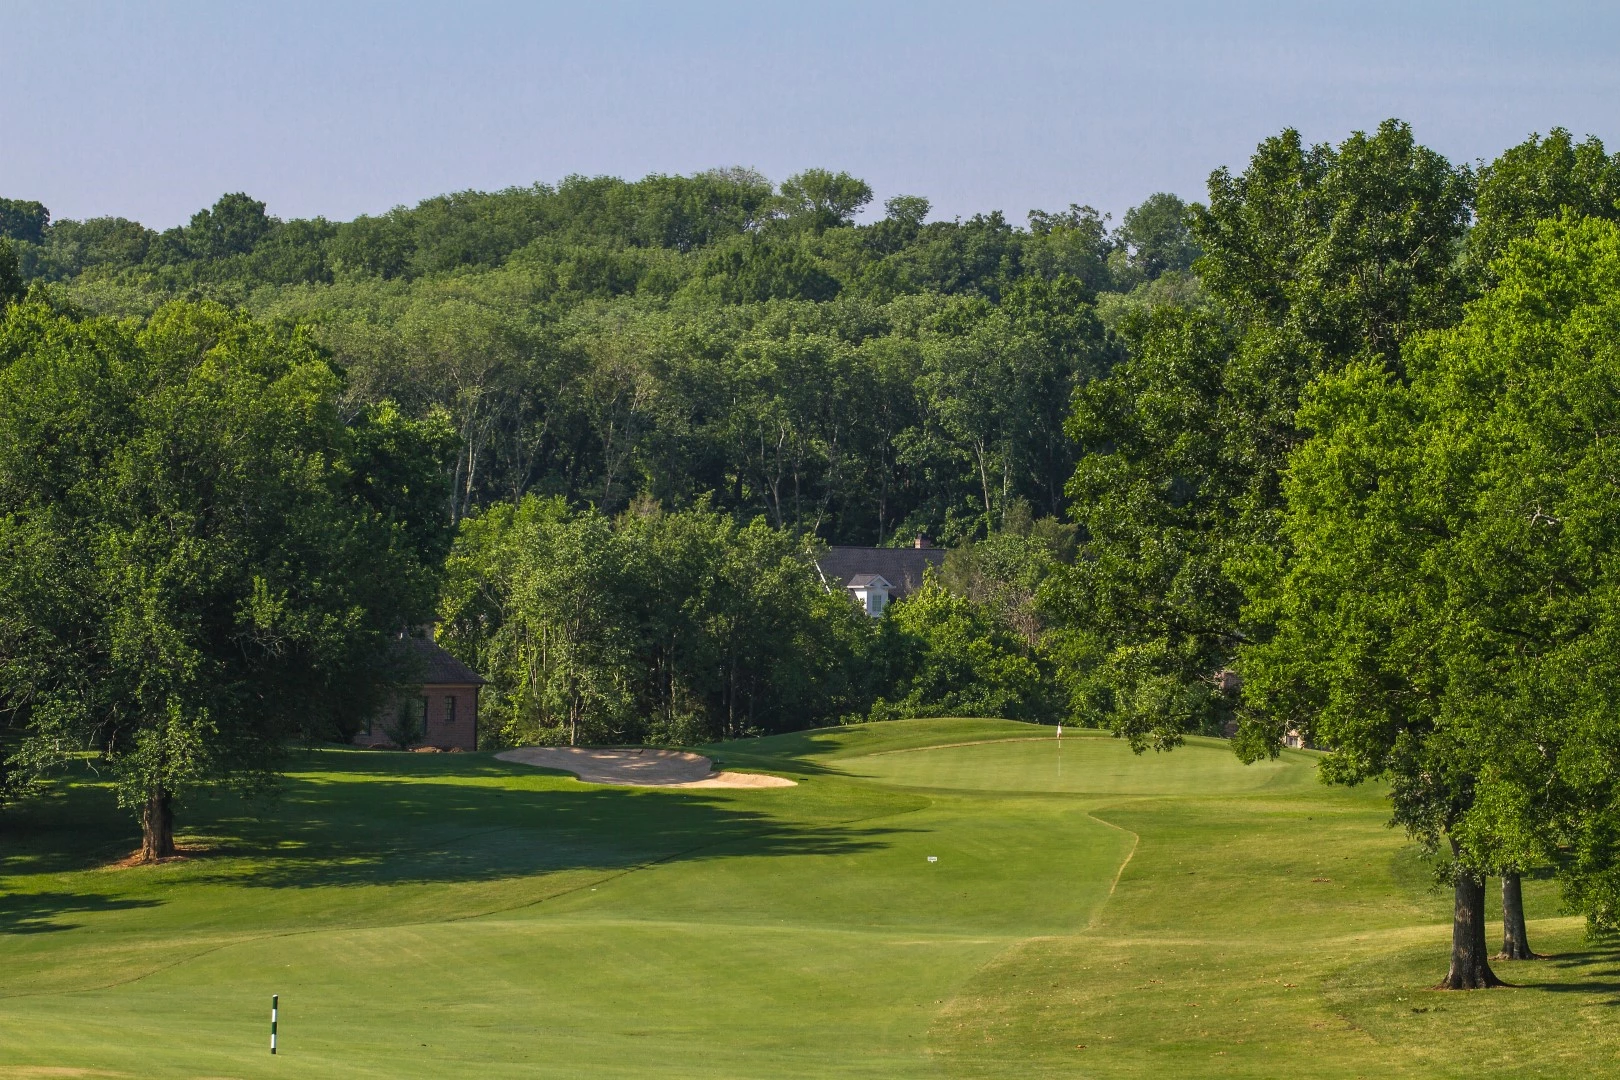
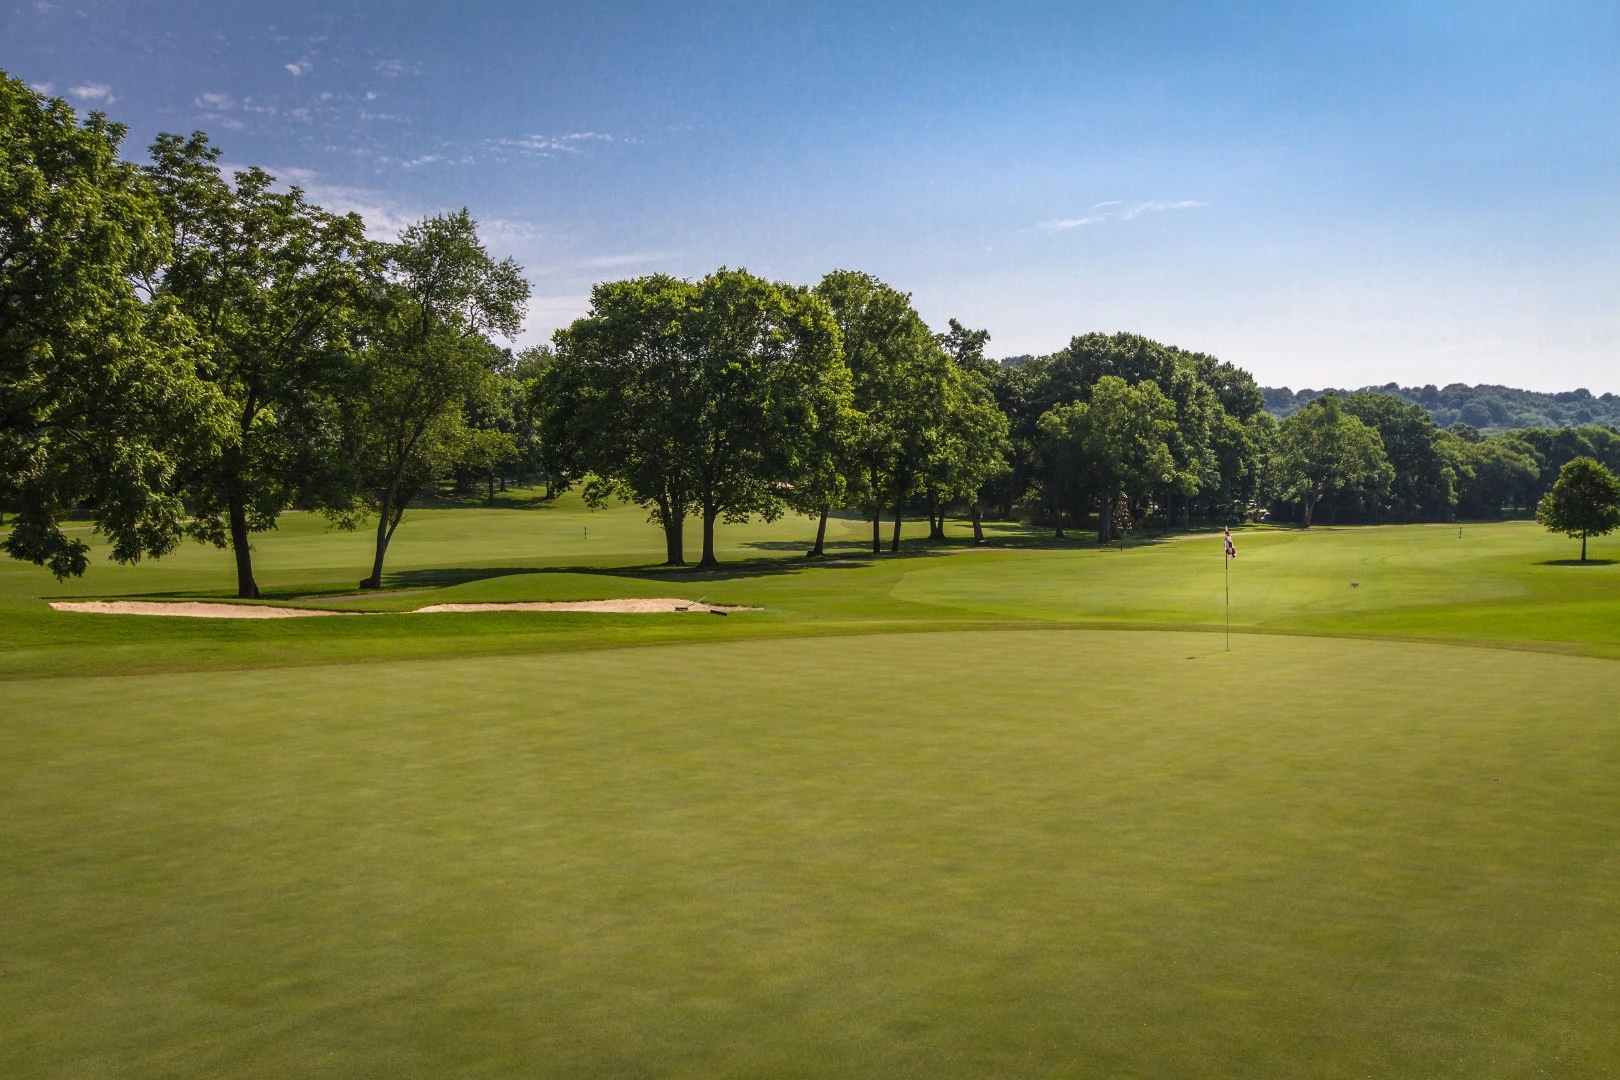
# 1 / Hole #1
Par: 4
Yardage by Tee:
Blue 400
Gold 359
Green 302
White 378
Pro Tips
Slightly downhill dog leg right par 4 with bunkers guarding the right and left side of the green. Favor the right side off the tee so you don;t have tree trouble on your approach shot.
# 2 / Hole #2
Par: 5
Yardage by Tee:
Blue 530
Gold 404
Green 399
White 516
Pro Tips
Dog leg left Par 5 where you want to stay right off the tee and on the second shot. Second shot layup to about 125 is the best play to the up hill approach shot.
# 3 / Hole #3
Par: 3
Yardage by Tee:
Blue 184
Gold 131
Green 131
White 152
Pro Tips
Heavily bunkered par 3 with a green that slopes severly from back to front. Take an extra club to for sure get over the bunkers.
# 4 / Hole #4
Par: 4
Yardage by Tee:
Blue 408
Gold 361
Green 290
White 373
Pro Tips
Longer hitters can let it rip and have less than 125 in, but for those average length players keep it left to have an open approach shot to this small green.
# 5 / Hole #5
Par: 4
Yardage by Tee:
Blue 388
Gold 298
Green 298
White 372
Pro Tips
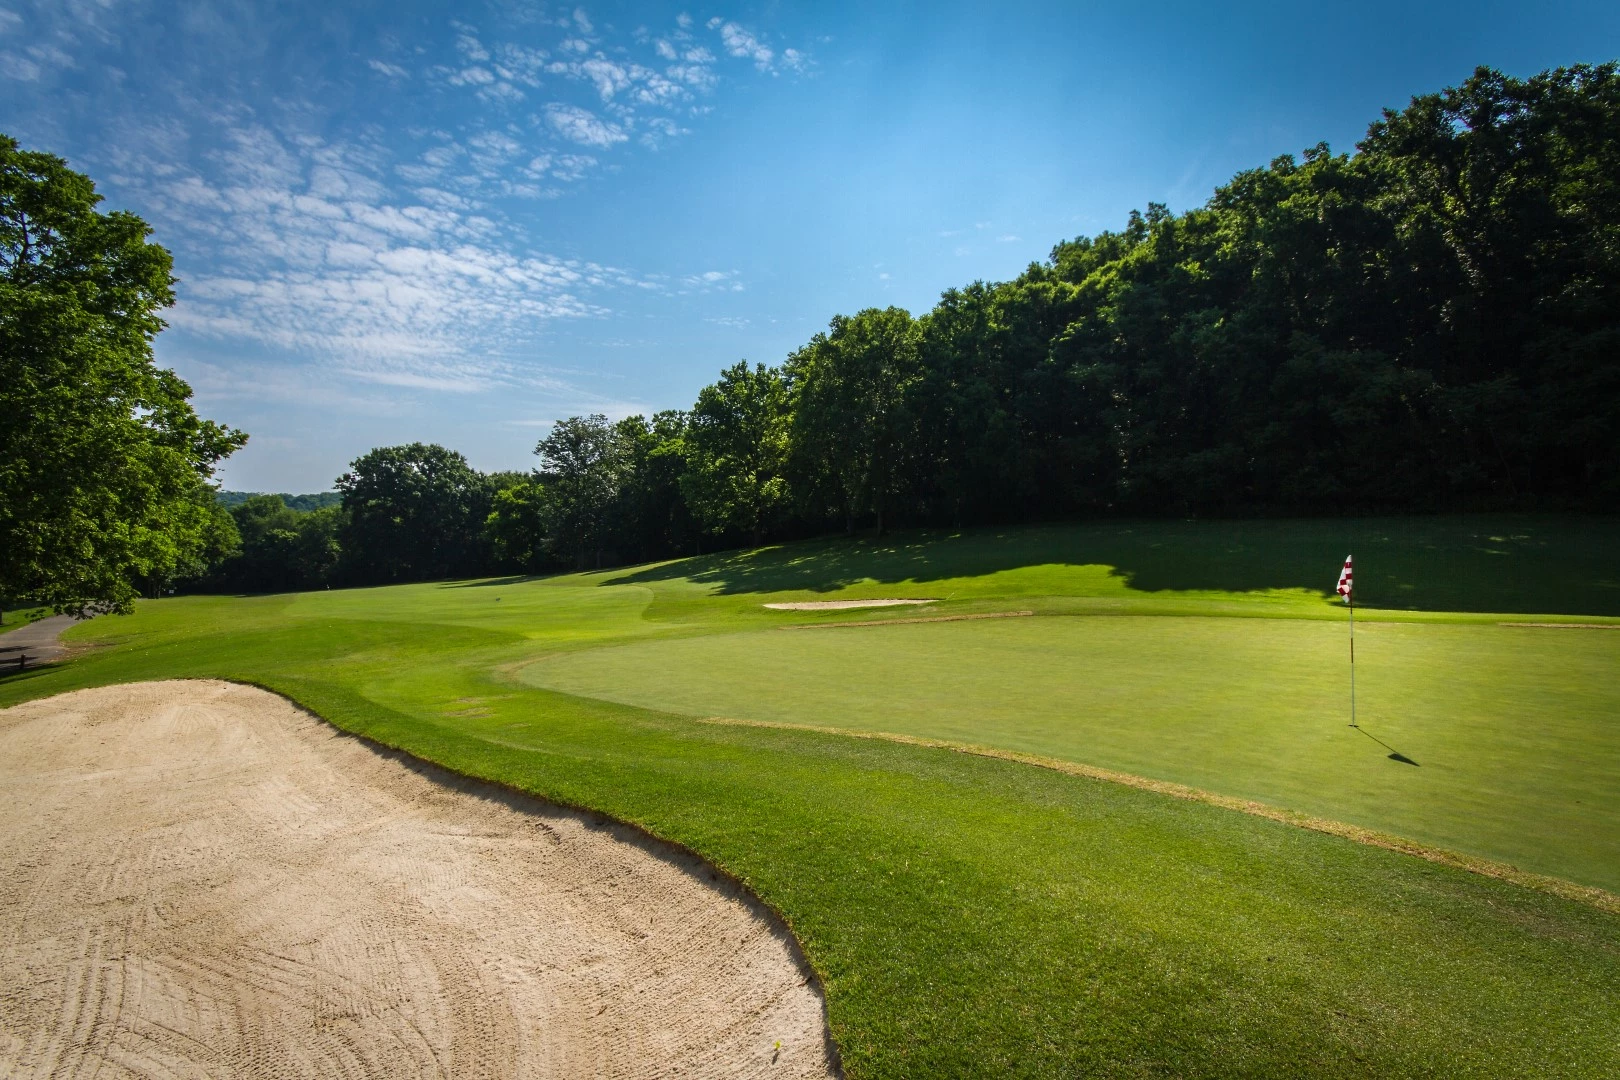
Dog leg left par 4 with no room to miss left and only minimal room right. We have a small creek right that can grab a missed shot. Second shot plays uphil to this green that has a narrow opening.
# 6 / Hole #6
Par: 4
Yardage by Tee:
Blue 400
Gold 289
Green 289
White 384
Pro Tips
One of our tougher holes is this dog leg right uphill par 4. The second shot can play 2 clubs longer at times with this multiple tiered green.
# 7 / Hole #7
Par: 3
Yardage by Tee:
Blue 165
Gold 141
Green 141
White 156
Pro Tips
A straight forward par 3 the slopes from back left to front right. Miss right is a much easier up and in.
# 8 / Hole #8
Par: 5
Yardage by Tee:
Blue 538
Gold 398
Green 398
White 496
Pro Tips
This Par 5 has a blind second shot that will need a large draw to stay in a playable position. The green is neutral with bunkers both right and left.
# 9 / Hole #9
Par: 4
Yardage by Tee:
Blue 410
Gold 322
Green 270
White 367
Pro Tips
Dog leg left par 4 that plays a club uphill on the second shot. This green is the most severe sloping from left to right.
# 10 / Hole #10
Par: 4
Yardage by Tee:
Blue 350
Gold 320
Green 313
White 337
Pro Tips
A blind tee shot that needs to move left to right is needed off the tee. The second is slightly uphill to a sloped green.
# 11 / Hole #11
Par: 5
Yardage by Tee:
Blue 540
Gold 458
Green 451
White 519
Pro Tips
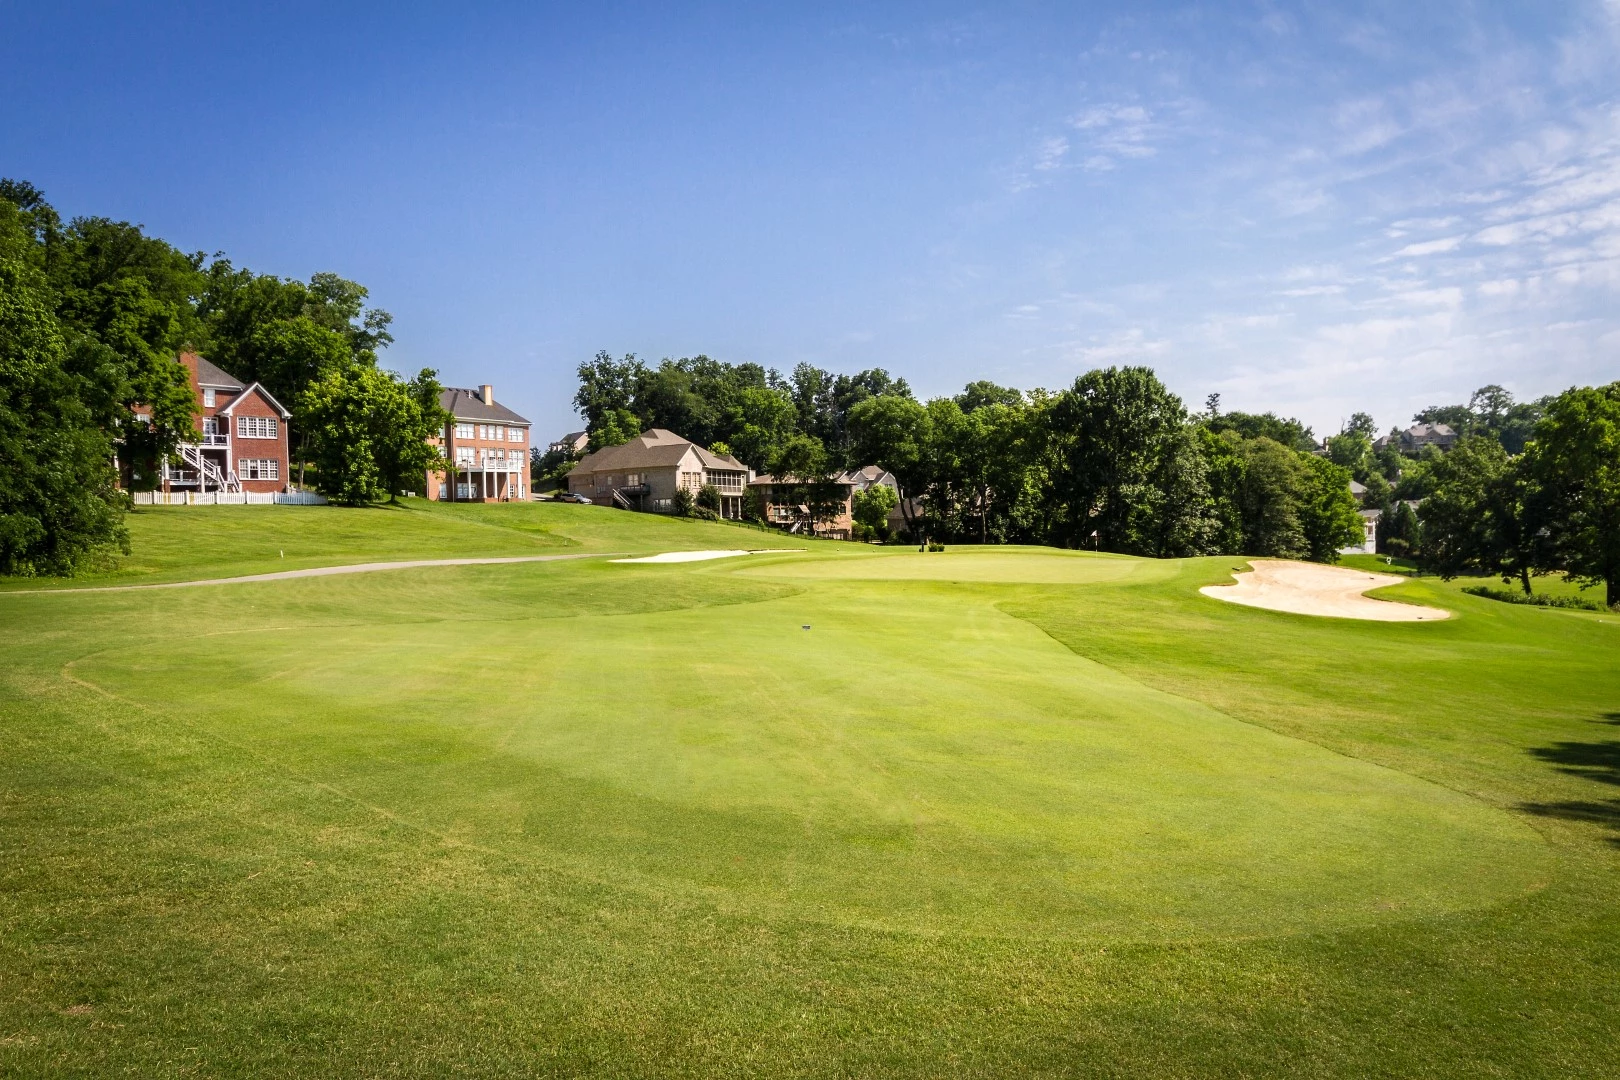
This elevated par 5 needs a straight tee ball and a second shot that position depends on pin location.
# 12 / Hole #12
Par: 4
Yardage by Tee:
Blue 385
Gold 355
Green 292
White 369
Pro Tips
This par 4 has a sloped fairway that will kick your tee shot right. Hopefully you won't play the tretourous back left pin location.
# 13 / Hole #13
Par: 3
Yardage by Tee:
Blue 200
Gold 161
Green 154
White 191
Pro Tips
This downhill par 3 plays 1-2 clubs short depending on wind. Be sure to get over the front bunker as many positions around the green allow for a relitively normal up and in.
# 14 / Hole #14
Par: 4
Yardage by Tee:
Blue 425
Gold 295
Green 295
White 376
Pro Tips
This long Par 4 should be played to the middle of the fairway and then to an uphill second shot. This green is extremely sloped with no easy putts to be had.
# 15 / Hole #15
Par: 4
Yardage by Tee:
Blue 423
Gold 320
Green 310
White 386
Pro Tips
This dog leg left needs a tee shot that leaves the 140-160 range into the tee. The green is heavily bunkered from the front.
# 16 / Hole #16
Par: 4
Yardage by Tee:
Pro Tips
A uphill dog leg left can be unfriendly if you miss left. Missing right will bring trees into play. Second shot plays slightly long with a medium sloped green.
# 17 / Hole #17
Par: 3
Yardage by Tee:
Blue 192
Gold 152
Green 88
White 172
Pro Tips
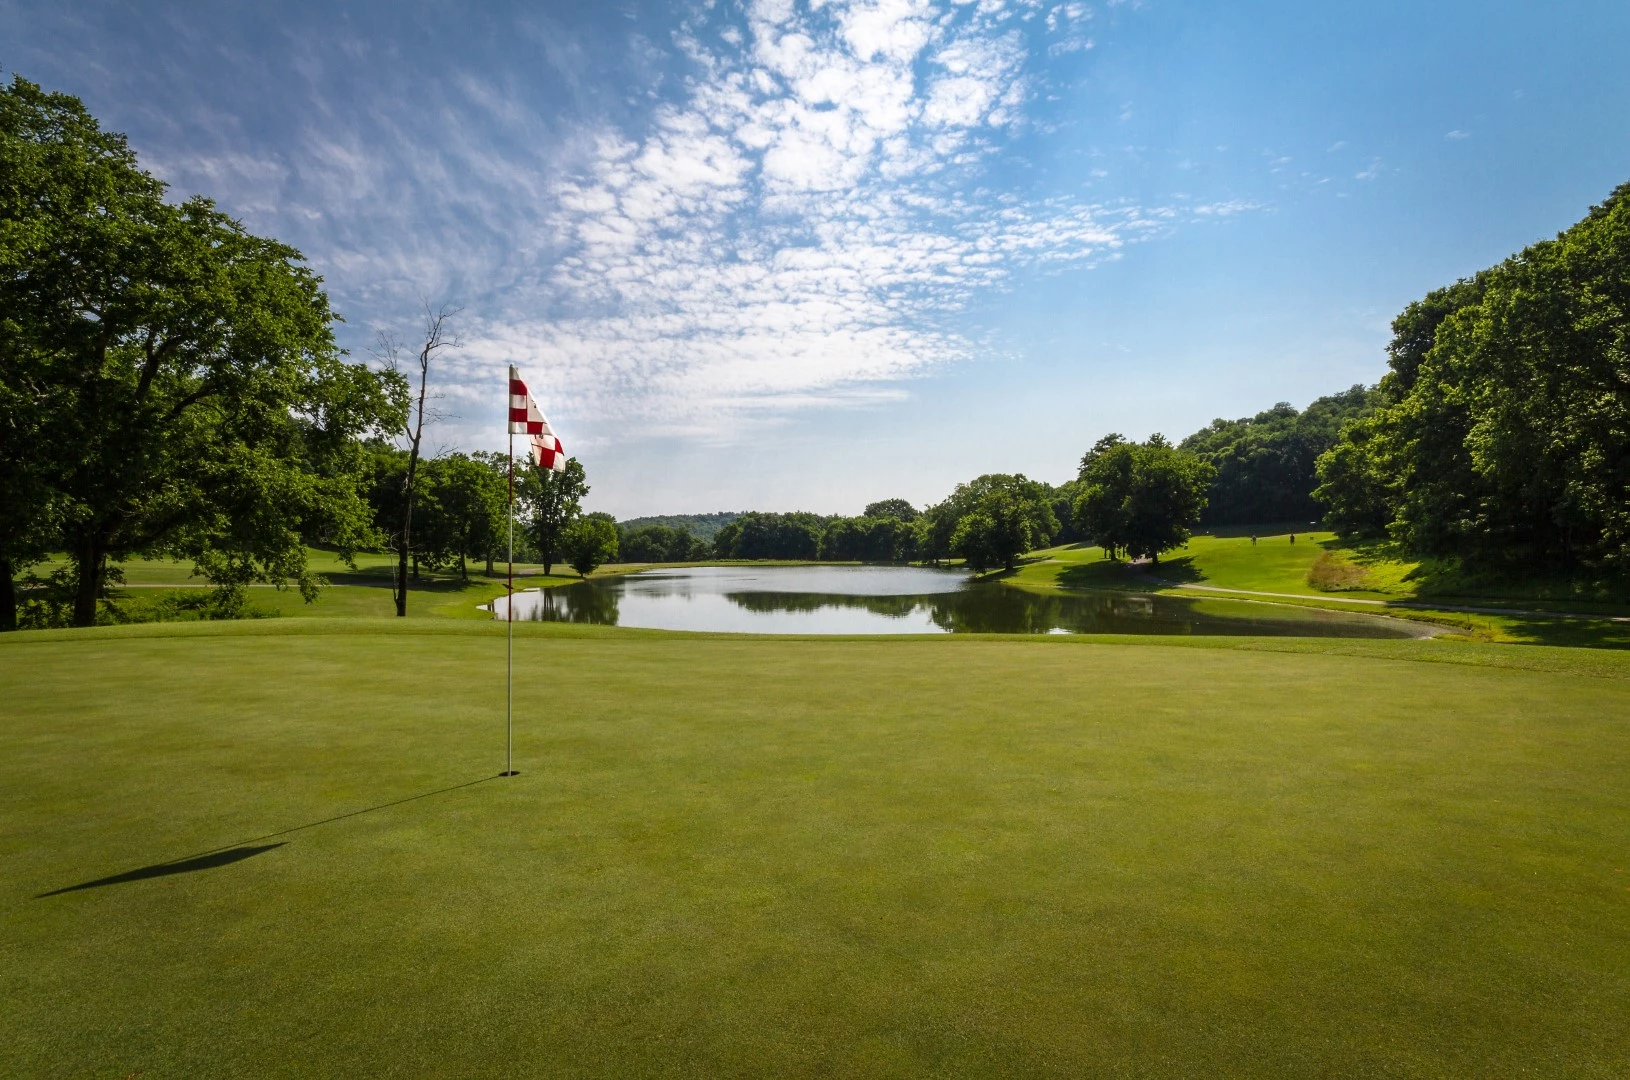
This Par 3 plays a lot like an island green as you have no bail out. Commit to your yardage and aim for the left center of the green.
# 18 / Hole #18
Par: 5
Yardage by Tee:
Blue 491
Gold 462
Green 398
White 476
Pro Tips
Keep your drive down the right side of teh hole and then hit everything you have to get to the green. The right and left bunkers will swollow most balls with the narro front of the green opening.
# 19 / Hole #19
Par: 5
Yardage by Tee:
Blue 536
Gold 406
Green 395
White 504
Pro Tips
This dog leg right has many obstacles off the tee with OB and on the second shot with a well placed tree right of the fairway.
# 20 / Hole #20
Par: 3
Yardage by Tee:
Blue 181
Gold 131
Green 121
White 172
Pro Tips
The tee shot plays to the yardage and you want to stay below this severly sloped green.
# 21 / Hole #21
Par: 4
Yardage by Tee:
Blue 394
Gold 365
Green 275
White 379
Pro Tips
Play your tee shot slightly right inside the trees for the best result. Second shot can play slightly long with one of teh flatter greens we have.
# 22 / Hole #22
Par: 4
Yardage by Tee:
Blue 362
Gold 315
Green 265
White 333
Pro Tips
Hit a shot to be between 125-150 off this dogleg left tee. Make sure you do not go past middle green yardage or you will face an impossible up and down.
# 23 / Hole #23
Par: 4
Yardage by Tee:
Blue 367
Gold 333
Green 247
White 348
Pro Tips
Keep your tee shot right with a hard draw to get your best approach here. The green slopes back to front and has bunkers gurading the left and right.
# 24 / Hole #24
Par: 5
Yardage by Tee:
Blue 565
Gold 510
Green 247
White 531
Pro Tips
Our toughest hole does not have an easy shot. Keep your tee shot to teh right center of fairway and then peel your second off the left for what you hope is a 125-150 approach. The 3rd shot plays a club or 2 uphill to a very sloped green.
# 25 / Hole #25
Par: 3
Yardage by Tee:
Blue 164
Gold 130
Green 125
White 148
Pro Tips
This Par 3 plays the yardage and cant be missed short or right. The green is very small and missing left does not always get teh right kick needed to make the green.
# 26 / Hole #26
Par: 4
Yardage by Tee:
Blue 385
Gold 307
Green 295
White 367
Pro Tips
Hit a draw off the tee that will leave about 130-150 to the green. The second shot plays level with a very sloped green.
# 27 / Hole #27
Par: 4
Yardage by Tee:
Blue 405
Gold 295
Green 255
White 381
Pro Tips
Keep your tee shot left center off the tee and the second shot plays a club longer depending how long you are off the tee.